Schedule a report to run automatically
Set up any report in advance to run at a certain time, or on a recurring schedule. Reports will run based on the parameters you choose and be sent via email.
Who can use this capability? All users who have access to Lineage Reports.
This article covers:
- Choosing a report to automate
- Determining report parameters (range of data)
- Setting a schedule (report frequency)
- Selecting report output (format)
- Set up report notifications
- Modify/disable/delete a scheduled report
Choosing a report to automate
To access a list of reports, open the Shortcuts menu from within your Lineage Link platform by clicking on the Lineage Link® logo, then select Lineage Reports.
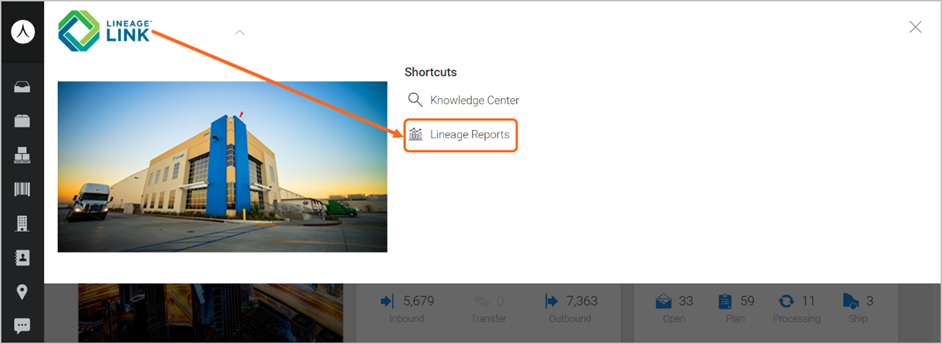
Note: Lineage Reports will open in a separate tab of your browser. This makes it easier to go back and forth between Lineage Link and Lineage Reports if you need to cross-reference something.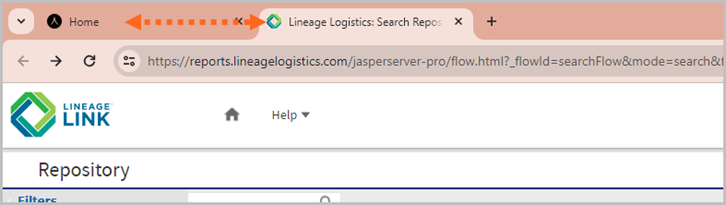
From the list of reports, right-click on an individual report name and select Schedule. 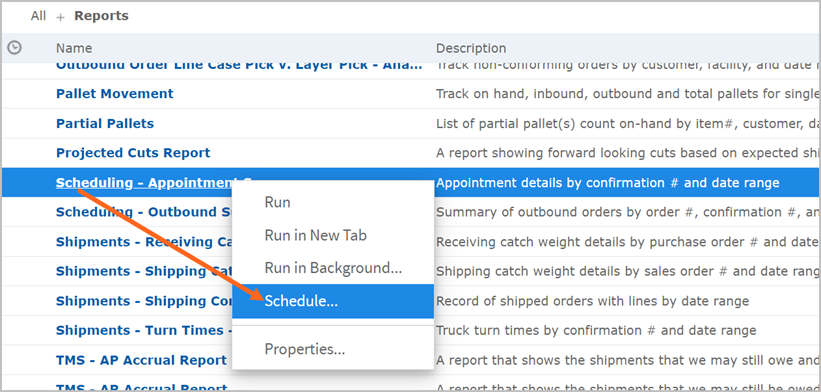
To begin setting up an automated report, click Create Schedule.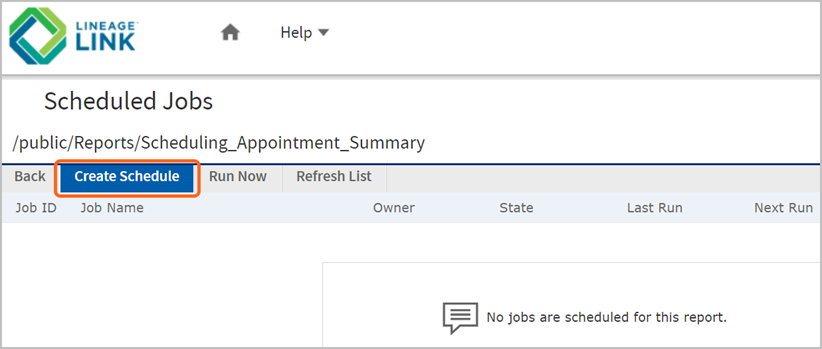
You will see tabs at the top-right (e.g., Parameters, Schedule, etc.). The tabs will indicate which step you are on. Once you select the info. under a tab, click SAVE (bottom-left) to proceed to the next tab.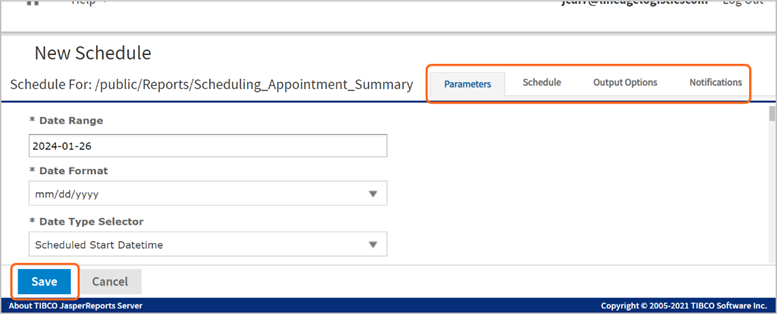
Determining report parameters (range of data)
The Parameters tab allows you to choose the range of data that is pulled each time a report is run. Note: Anything marked with an asterisk (*) is required and must be selected before proceeding.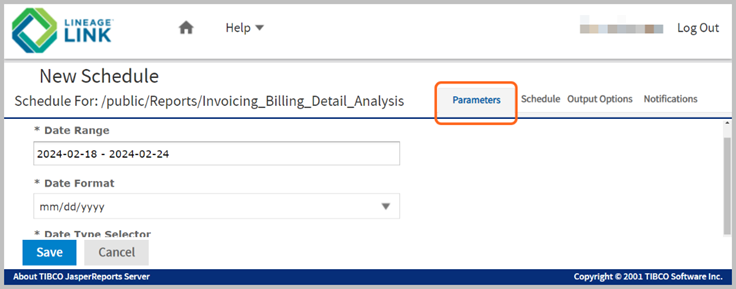
Depending on the report you selected, parameter options may vary. Below are some examples of common parameters to choose from and a description of how data is pulled.
- Date Range: There are two ways to determine the date range of data. See the outline below.
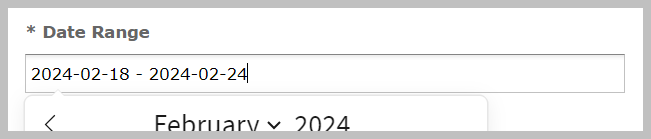
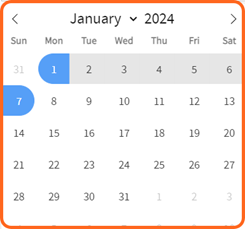
- Non-recurring date range: Using the calendar to manually select a specific date range will cause the report to pull only the selected dates.
- For example, selecting January 1st to January 7th will cause the report to pull data for that specific week only.
- This is helpful when you only need to schedule a report to be sent out one time for a specific date range of data.
- Recurring date range: Selecting a preset button will cause that range of data to be pulled into the report each time it runs.
- For example, choosing “Last Week” will populate the previous week's data each time the report runs, it rolls forward, regardless of a specific date.
- This is helpful when you need to schedule a report to re-occur and pull data more than once.

- Non-recurring date range: Using the calendar to manually select a specific date range will cause the report to pull only the selected dates.
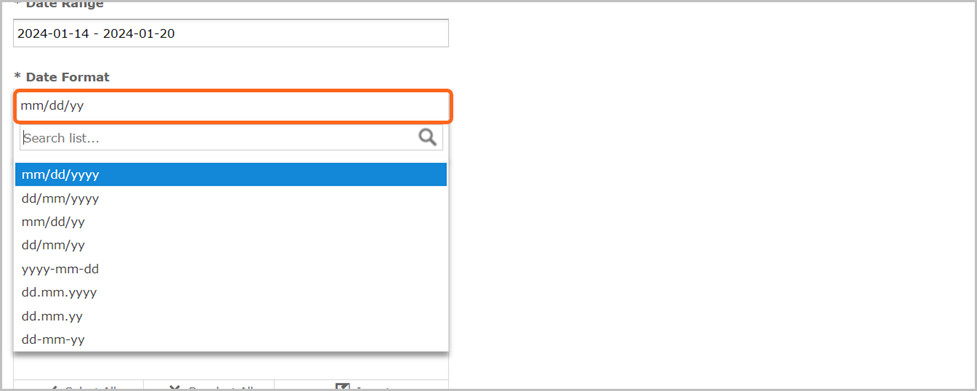
- Date Format: Click to select your preferred date format to be used within your report or dashboard schedule data output. Note: The date format will apply when you run the report directly and export it from the reports page (not via email).
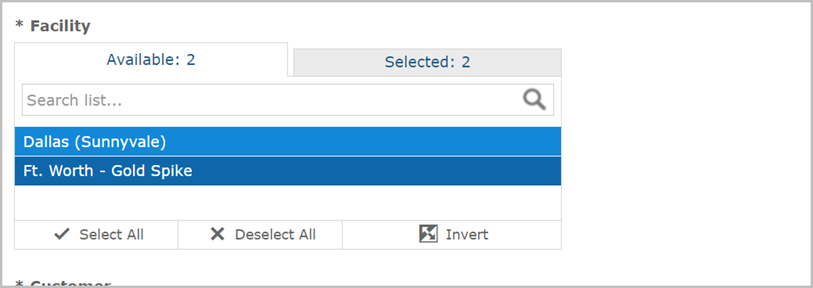
- Facility: Select one or more Lineage locations you need the report to pull data from. Selected facilities are highlighted in blue. Note: Report availability will vary depending on the facility. If a facility location is listed, this means the report type you selected is available for that location.
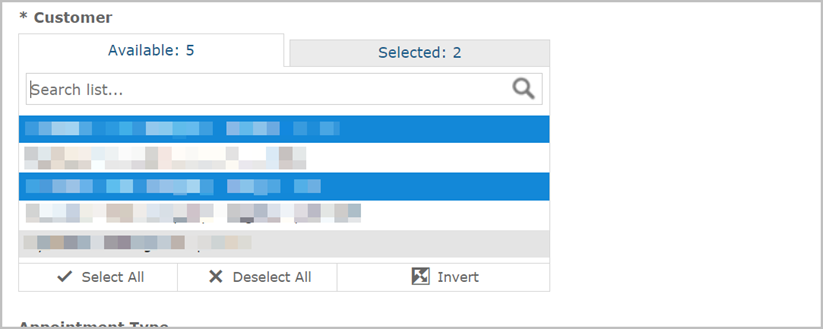
- Customer: Choose one or more of your accounts that you need to pull data from.
Setting a schedule (report frequency)
The Schedule tab allows you to choose when the report will automatically run.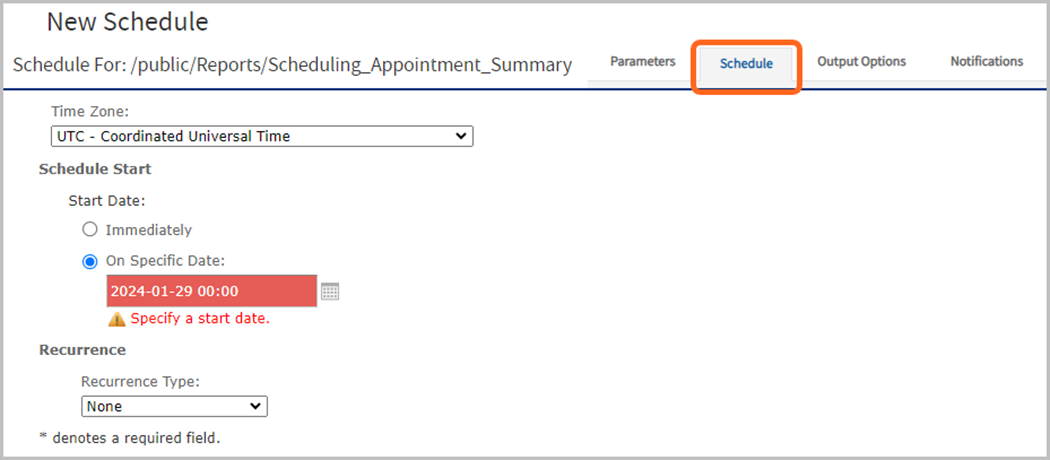
The outline below explains what you need to select under the Schedule tab to determine when your report will automatically run, and/or repeat.
- Time Zone: There is an option to select a specific time zone from the drop-down menu (defaults to UTC). Note: Time Zone options will vary depending on your region.

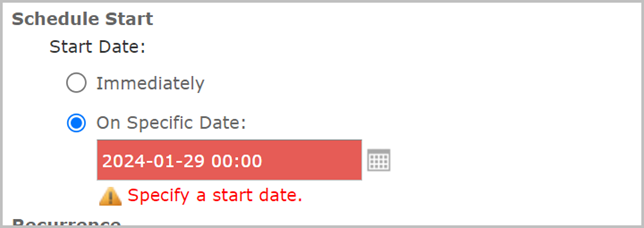
- Schedule Start: Choose when you need the report to start running automatically.
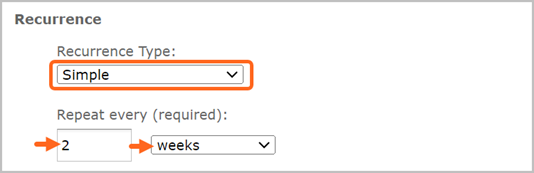
- Recurrence: If you want the report to repeatedly run automatically, choose the number of times you want the report to repeat its auto-run schedule.
- Simple: Selecting the “simple” Recurrence Type is a quick way to configure how often the report should auto-run. For example, if you need the report to run bi-weekly, enter 2 and select weeks.
- Calendar: Selecting the “calendar” Recurrence Type will allow you to choose a specific day of the month and time that you need the report to auto-run. For example, if you need the report to run at 2:30 PM, enter both the hours and minutes in military time 14:30 (14 hrs., 30 mins.).
Choose the Month, Day, and Times, using a 24-hour time format (military time). Note: If you need to multi-select months or days, hold CTRL then click each option you need to select.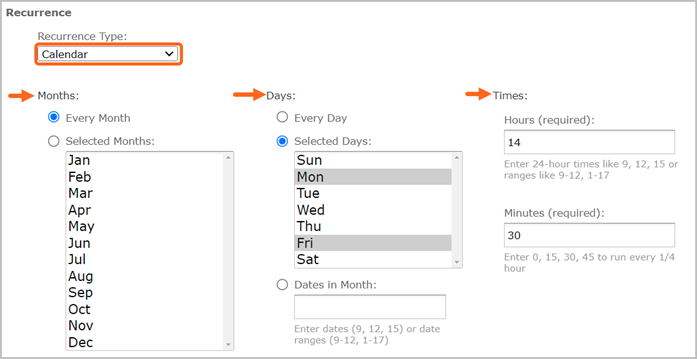
- Simple: Selecting the “simple” Recurrence Type is a quick way to configure how often the report should auto-run. For example, if you need the report to run bi-weekly, enter 2 and select weeks.
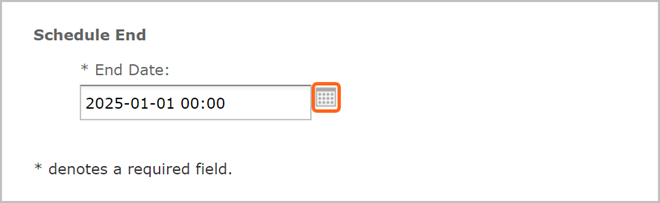
- Schedule End: Choose the date you need the report to stop running. Note: All schedules have a maximum duration of one year from the start date.
Selecting report output (format)
From the Output Options tab, customize the file that is produced each time the report runs.
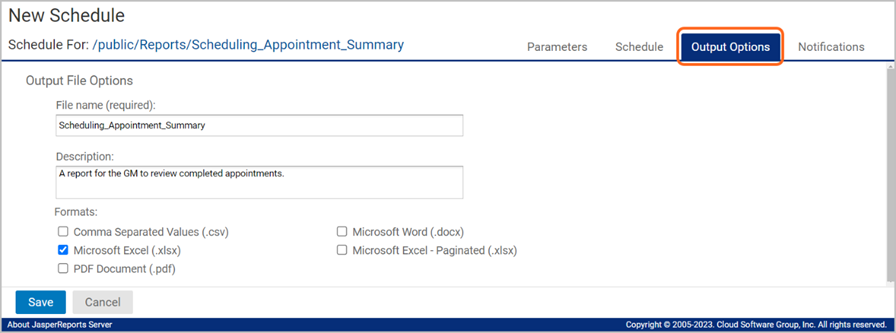
The outline below explains what you need to select under the Output Options tab.
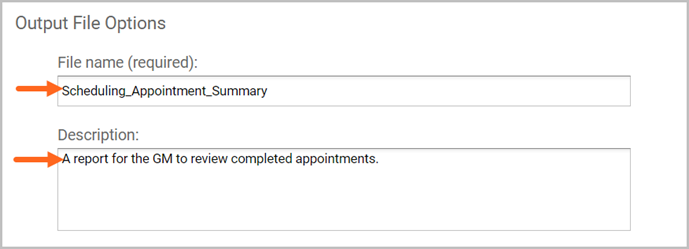
- File name: By default, the report name is displayed. You can add a custom file name to make it easier for you to identify. Note: No spaces or special characters can be used in the file name.
- Description: Enter a brief description of the type of auto-run schedule, and/or report type you’ve chosen to remind you of details the report contains. When you have a larger number of different types of scheduled reports, this can be helpful.
- Formats: Select one or more file formats for the output of the report.

- CSV: A comma-separated values file is a text-only file type.
- DOCX: A standard Microsoft Word Document.
- XLSX: A standard Excel spreadsheet.
- XLSX (Paginated): Formatted to fit on a standard page.
- PDF: Portal Document Format (read-only).
Set up report notifications
From the Notifications tab, enter the email addresses that need to receive the scheduled report and a brief subject and message that will help those accessing the report understand what it contains.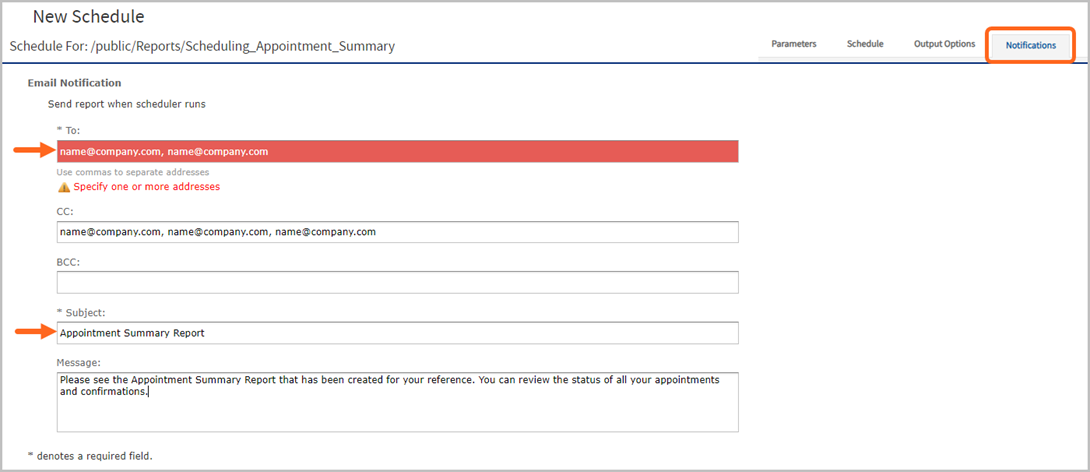
Once you have finished setting up the report notifications, click SAVE, enter a name for the scheduled job, and include a description. Then click SAVE to confirm the scheduled report.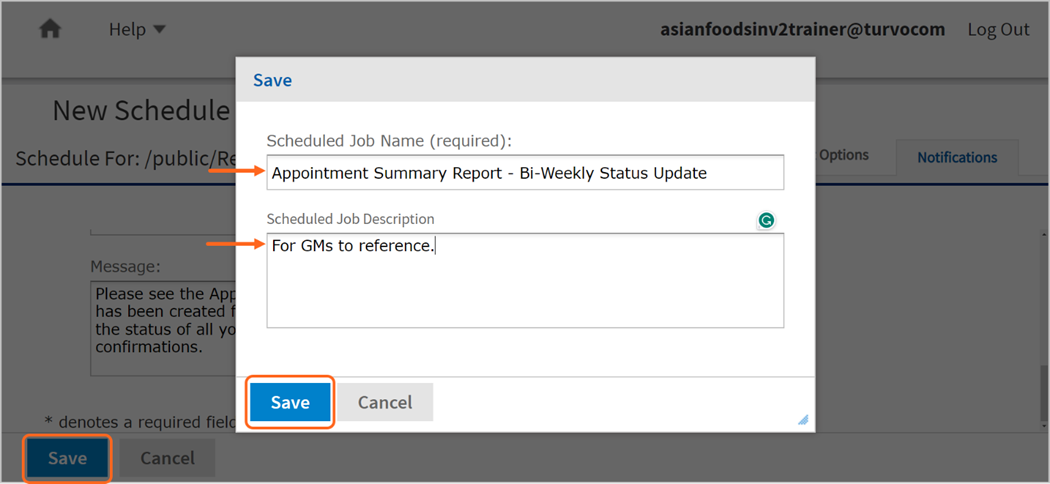
Modify/disable/delete a scheduled report
Any report name that shows a clock icon to the left, has one or more scheduled jobs that you have created for it. You can easily modify, disable, or delete an existing scheduled job for a report. 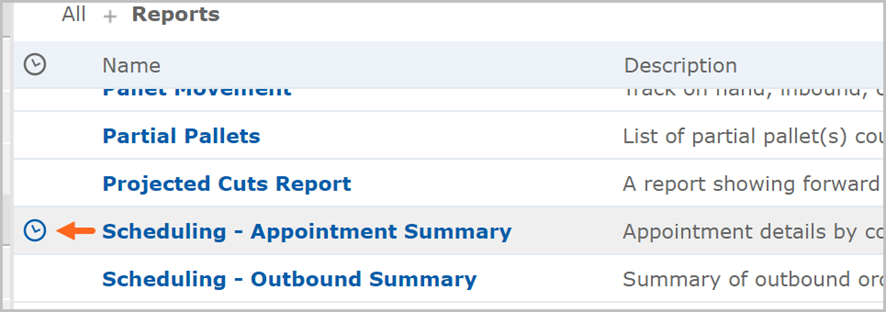
Depending on what change you need to make, please see the options to modify, disable, or delete a scheduled report outlined below.
Note: Any user included in the notifications for the originally scheduled job, will also be impacted by any change you make to your scheduled job.
To modify the details of a scheduled report, right-click on the name of the report, and select Schedule to access the Scheduled Jobs page.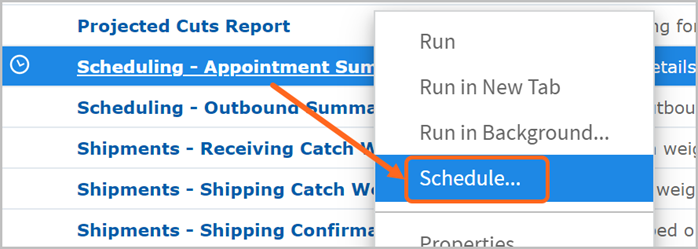
From the Scheduled Jobs page, click on the pencil icon. 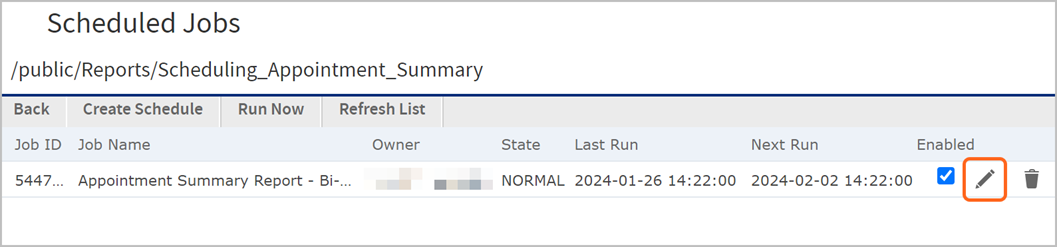
Click on the tabs you need to modify, make your changes under each tab, and then click SAVE. 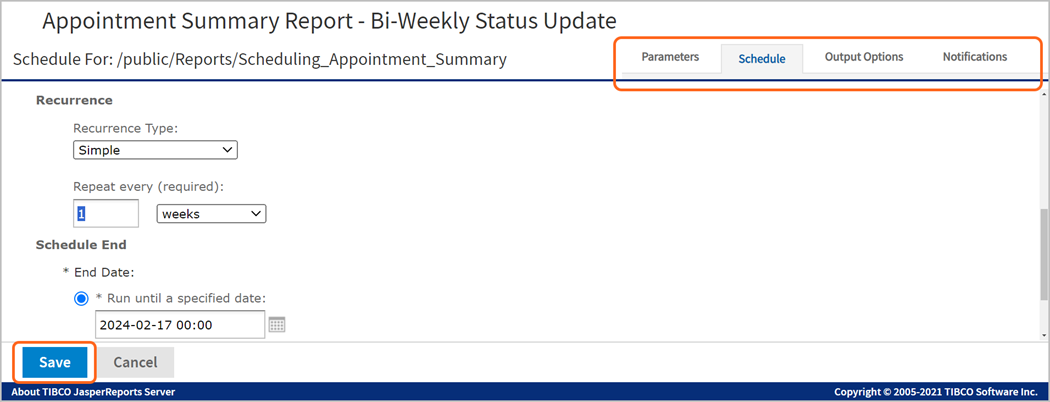
If needed, adjust the name/description of the scheduled report, then click SAVE to confirm all changes. 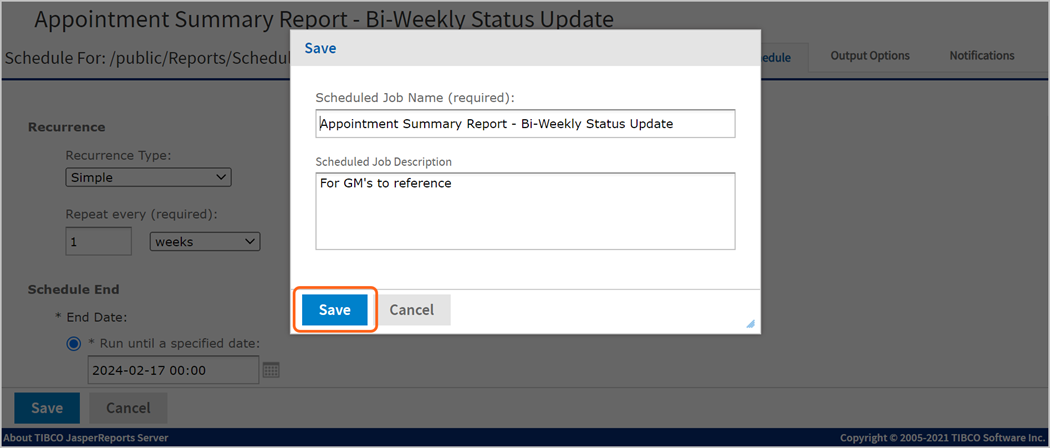
To temporarily disable a scheduled report, un-check the Enabled check box. Note: To activate the scheduled report again later, check the Enabled checkbox. 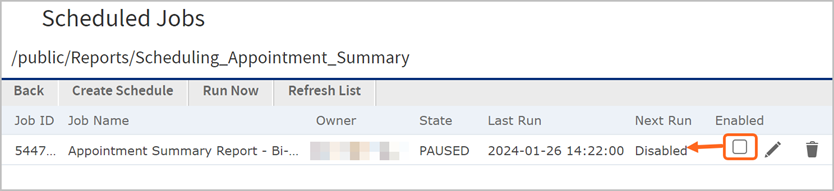
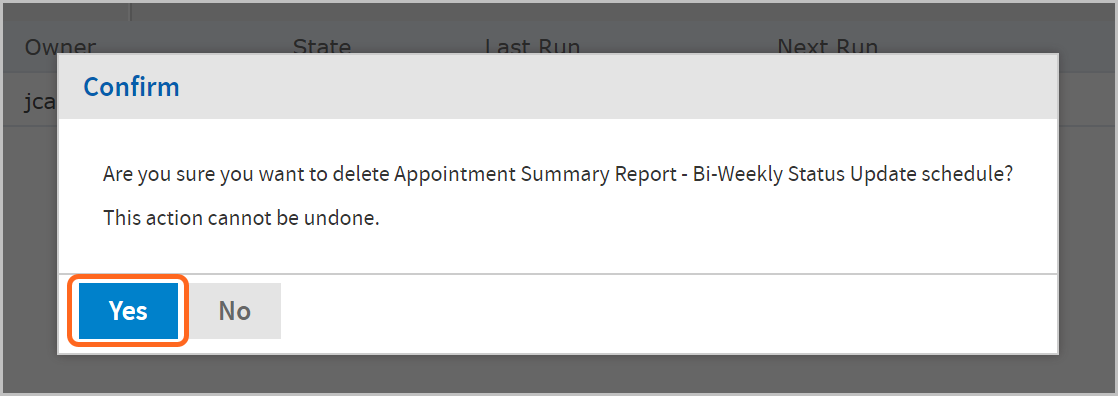
To permanently delete a scheduled report, click the trash can icon. 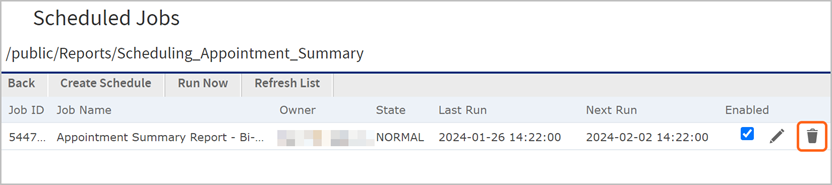
Click YES to confirm. Note: Once a scheduled job is deleted, you will not be able to recover it, and any user who was included in the notifications will no longer receive the scheduled report.